 As my daughter has grown, our extra room over the garage has gone from a playroom to an art/hangout room and has had to be revamped several times as we clear out old supplies, toys and books that we aren’t using anymore.
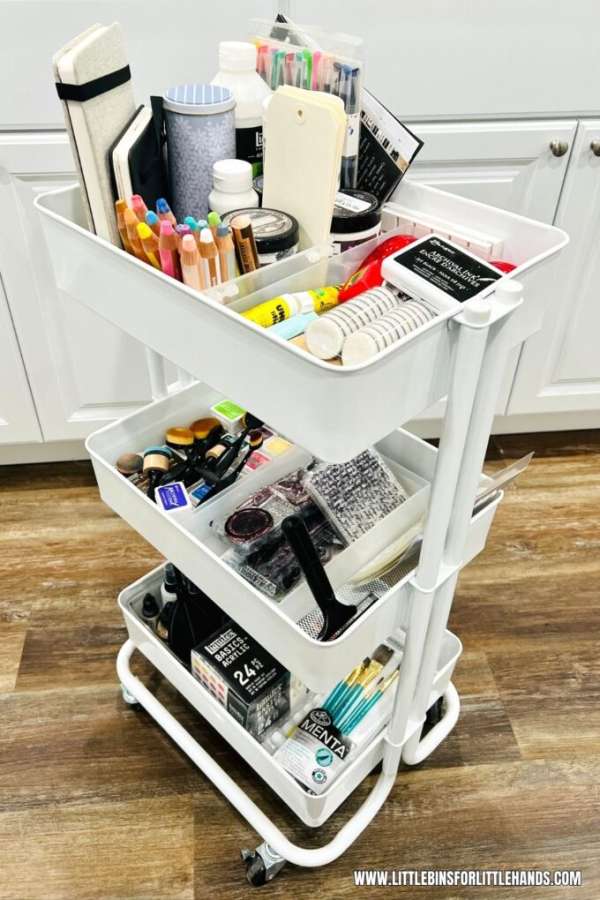
One thing that has been in there for a long time is an art cart, but even though I’ve written about how to organize one of these carts ours has never been very well organized.
You can get these carts just about anywhere these days (ours is a Raskog from Ikea, but you can get a dupe from Amazon) and they are super handy if you don’t have a whole room dedicated to creativity and need to store things in a way that they can easily be moved, such as when the art space is also the dining room.
If you have a cart for your bonus room, home school room or classroom, Little Bins for Little Hands has some great tips (and their cart looks much better than mine!). It looks like she has the Amazon version mentioned above, and her post gives you the rundown of all the things on her cart or that you might want to add to yours depending on the interests of your kids.
If yours is in a classroom you can always change up the kinds of supplies that are available through the year or add in seasonal stickers, paper and other supplies.
The post also talks about why it’s great to have an art cart, but for me the main thing is to keep things accessible and visible because that’s how I like my supplies in my office, too. That way you can get inspired by things and not necessarily have to think as much about what you want to make before you get started because you have some boundaries based on what’s on the cart.
Check out the post on Little Bins for Little Hands for more details. If you have an art cart I’d love to hear what you use it for!
[Photo: Little Bins for Little Hands.]
 One way to
Leave a Reply