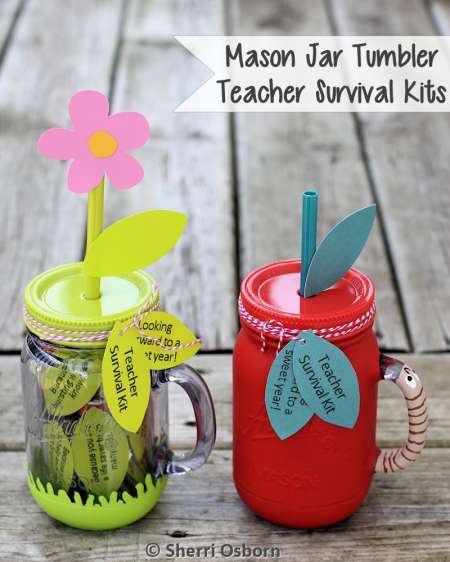
Send your child back to school with this fun, unique, and easy-to-make gift for their teacher. Mason jar tumblers are all the rage right now and any teacher would be thrilled to get one as a gift, especially when it is filled with sweet treats as part of a ‘Teacher Survival Kit’. When all of the treats are gone, the decorated tumbler can be used to store and organize classroom supplies. It could also still be used as a drinking glass as all of the paper embellishments can easily be removed.
Besides a Mason Jar Tumbler, all you need to make one, or both, of these adorable gifts for a special teacher is some paint, paper, twine, and glue dots. Of course, you will also need the sweet treats to put in the mason jars, but we will get into that list a little later…
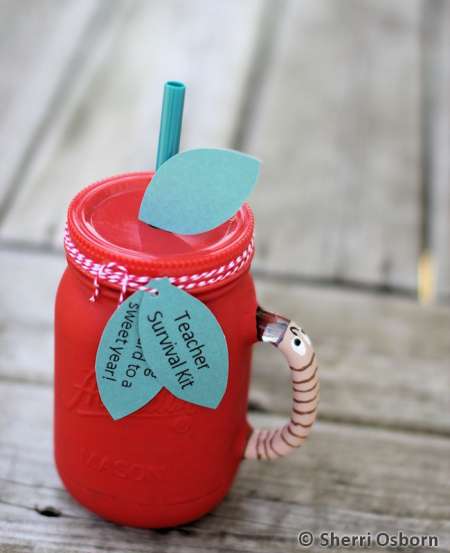
To make the apple tumbler, I started out by painting the outside of the mason jar red. It did take two coats to get a nice coverage. I didn’t paint the handle red though, instead, I painted that beige and then used brown, white, and black paint to make it look like a cute, little worm. I swapped out the red straw that was included with the tumbler with a green one so it would represent a stem. I found some green paper that was a near match to the color of the straw to use for the leaf. I attached the leaf to the straw using a glue dot.
To make the flower tumbler, I simply painted around the bottom so it looked like grass. I was lucky I had a green paint that matched the color of the mason jar tumbler lid and straw! It did take a couple of layers of paint, just like with the apple. I cut a leaf shape from green paper and a flower from pink and yellow paper. I attached these to the straw using glue dots.
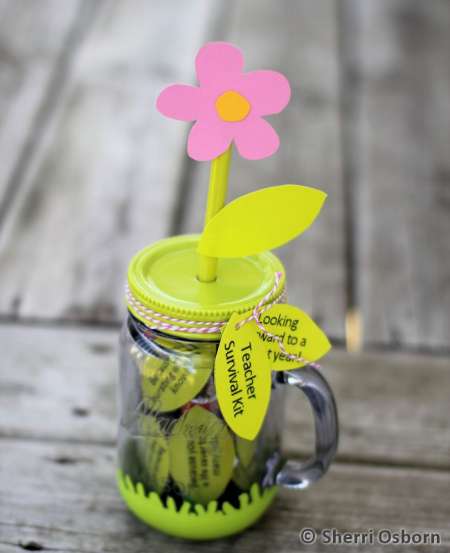
I used two more leaves to decorate the outside of each of these tumblers. You can cut them out for yourself or print out my template below. On one, I printed “Teacher’s Survival Kit” and, on the other, I printed “Looking forward to a sweet year!” I punched a small hole near the end of each leaf. I tied the leaves to the mason jar lid using a piece of baker’s twine.
Once the tumbler is decorated, you can gather together the sweets that go inside it. Each treat has a special saying that is attached to it. I printed the sayings inside leaves, cut out the leaves, and then attached the appropriate saying to the corresponding candy/treat using glue dots.
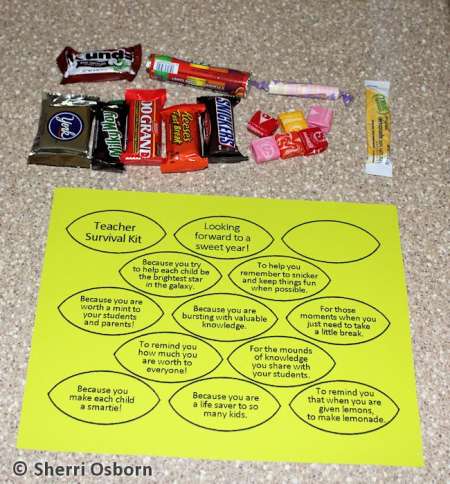
You can download and print out my leaves. Print them on green paper and cut them out. You can also draw out your own leaves (or whatever design you prefer) and even create your own sayings.
 Fill the mason jar tumblers with the labelled treats and it is ready to be presented to a special teacher!
I had a lot of fun coming up with this idea, which I made as part of the Back-to-School Mason Jar Challenge from QVC and Jill Bauer, QVC’s Home Savvy Hostess.
QVC’s Jill Bauer hosts the network’s popular show, You’re Home with Jill® and provides fans with simple solutions for their busy lives through innovative products, a library of stress-free DIY projects, and crowd-pleasing recipes. Fans can connect with Jill on Facebook, Twitter, Pinterest, and Instagram.
You can tune in to You’re Home with Jill® beginning Wednesday, August 20 and every Wednesday at 7pm (ET), through October.
Disclosure: An Aladdin Set of Four 20 oz Insulated Mason Jar Tumblers was provided by QVC to facilitate the making of this project. No further compensation was given and all ideas are my own.



What kind of paint did you use? They are so nice and shiny!!
I used acrylic craft paint…. 🙂