Just to get it out of the way up front, the good folks at BeaverBot sent me a BeverBot Cutter 2 (the B. Rex model, to be precise) so that I could review it for you but I received no other compensation for this post.
I’ve been seeing ads online for these adorable cutting machines that make it possible for little kids to safely and accurately cute cardboard and other materials, and I wished we had these when my kid was younger. Even as an adult I know that cutting cardboard isn’t the most fun part of a project, and anything that can make it a little easier is a win for me.
But also making it adorable? Sign me up.
My kid is 16, so she’s a little out of the target market of ages 4 and up (so am I!) but I still think we’ll get a lot of use out of this machine when working on various projects.
What You Get
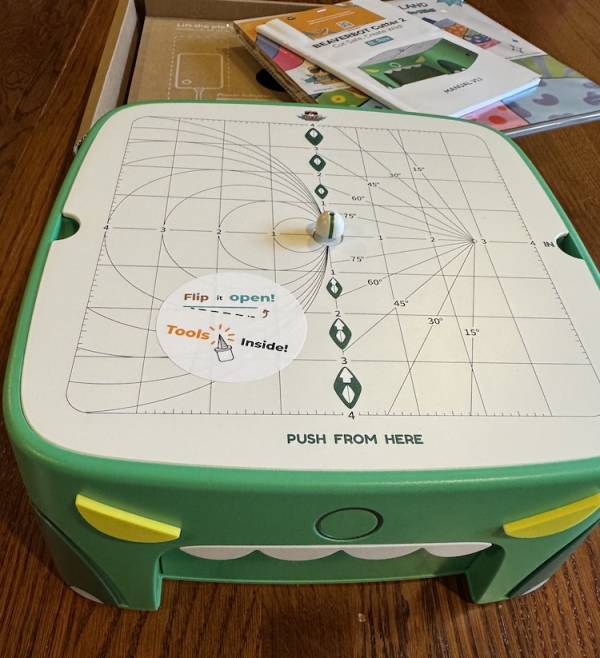
Out of the box, the BeaverBot Cutter 2 looks like a big plastic box (the original actually looked like a beaver; second generation machines look like a green dinosaur or a pink rabbit) with a metal plate on top. The plate is a removable surface that you use when cutting, and it has a variety of angles and curves on it to help with accuracy. 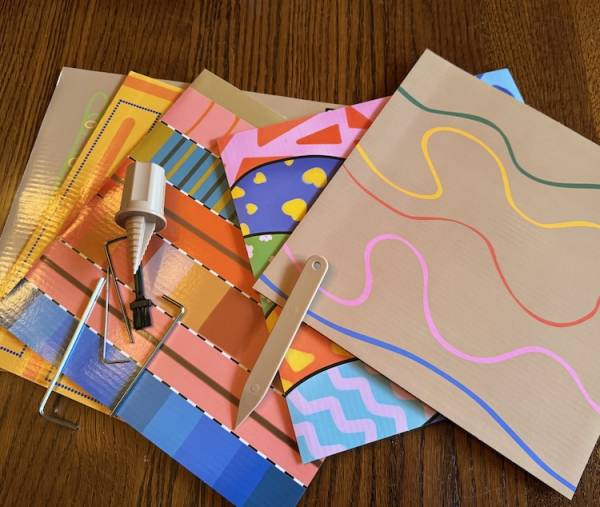
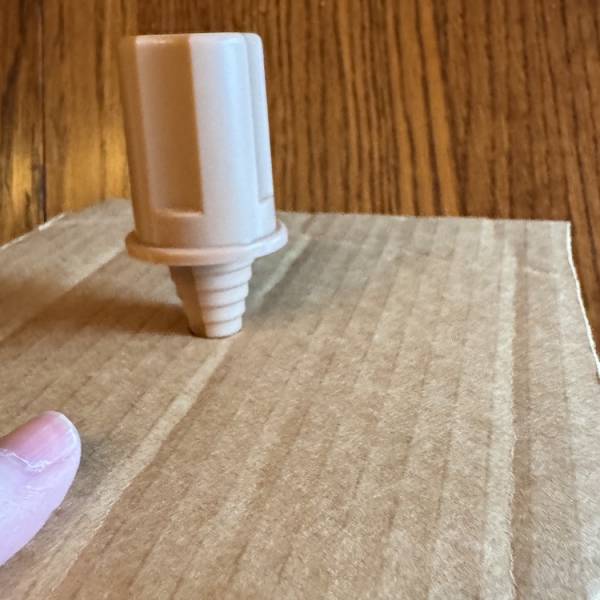
Inside the box you’ll find a few tools, as well as the power adapter. It comes with a tool kit for basic repairs, a tiny brush for cleaning up cardboard lint (or whatever it’s called), a scoring tool and a drilling tool. There are also some colorful practice sheets you can use as you learn to maneuver the cutter.
How to Use the BeaverBot Cutter
All you have to do to get started is remove a couple of stickers and plug it in. There’s a single on/off button (as well as a speed control slider) so it’s very user friendly. The metal plate reminds you which direction to work from, and you just guide whatever you’re cutting through the cutter in the center of the plate.
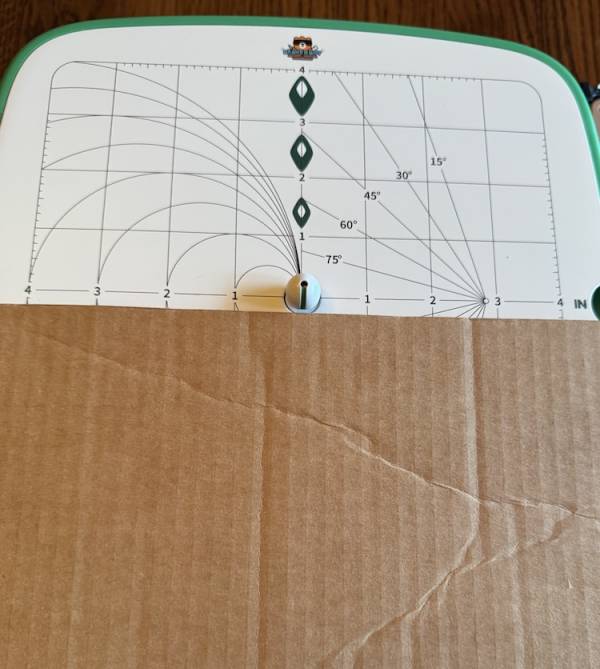
I started with a somewhat thick piece of cardboard (the basic model can cut materials up to 3mm or about 1/8 of an inch thick) and while my cut isn’t totally straight it is nice a clean.
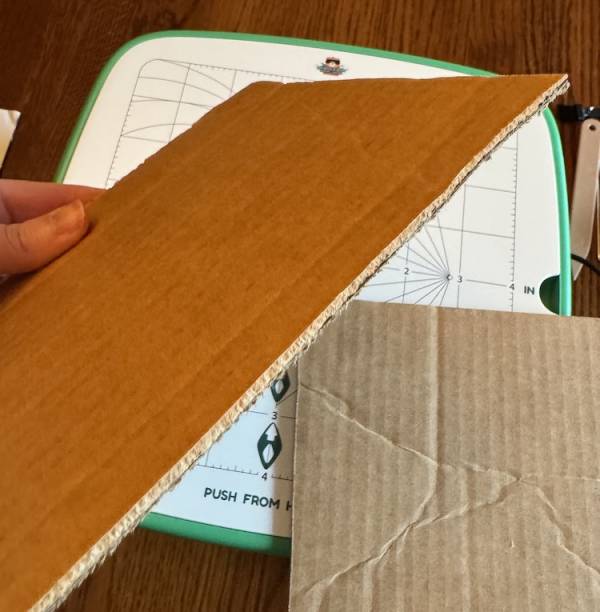
You don’t have to put a ton of pressure on the material you’re cutting to get it to cut, so it should be fine for kids to use with a little practice.
I felt like I needed some practice, too, as I tried to go straight from cutting straight lines to cutting out shapes and that did not go well. So there is definitely a learning curve if you want to be accurate in cuts that aren’t straight.
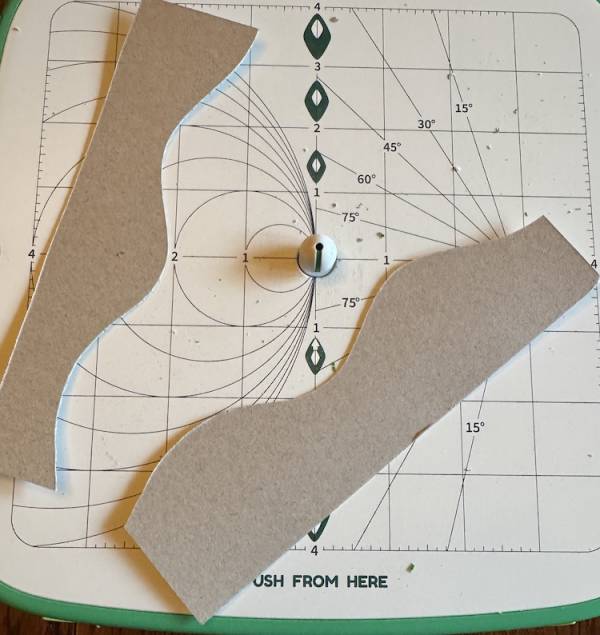
I also cute a wavy line in a thinner piece of paperboard and that was super easy and a lot of fun.
I tried to cut a piece of scrapbook paper and that didn’t go that well, but heavier card stock would probably work well. I also tried a bit of foam and it didn’t cut quite as cleanly as the cardboard, but that could have been my fault. The manual says it works with card stock, corrugated cardboard, leather, etc. so I’m definitely going to have to find some leather and see how that works.
My Review
The BeaverBot Cutter is a lot of fun to use, for kids and adults alike. I’m already thinking about projects I want to use it for, and I’m sure with practice I could cut out more accurate shapes, which would be great for things like making stamps or holiday projects.
It is a little loud (which is to be expected, but just be aware of that around little ones) but it’s completely stable on the table. It’s heavy (2.45 kg, or almost 5.5 pounds) which keeps it stable but might make it too heavy for little ones to move around on their own. Which is fine because you’ll want a dedicated place for it to sit, anyway.
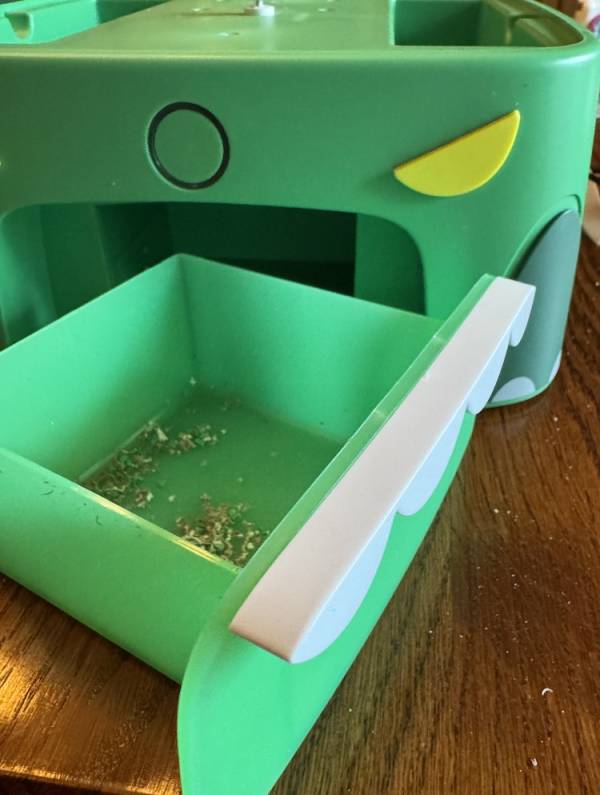
It does make a lot of dust or debris or whatever you want to call it. Some of that falls into the debris drawer (which is where the teeth are on the dino model), while some stays on top, which is why there’s a little brush.
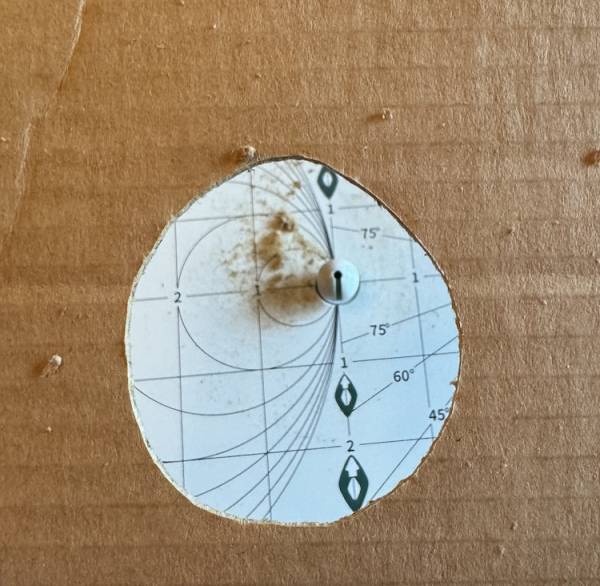
I also tried using the drilling tool so I could start from a hole and cut out a circle in the center of a piece of cardboard. My circle came out a bit more oval, but again, with practice I think I could make it better (and the guide lines definitely helped, even if I still wasn’t that accurate).
Buying a BeaverBot
You can buy a BeaverBot Cutter direct from the company and you’ll get all the components shown. There are other tools you can buy including a taller cutting tool that allows you to work with thicker materials (up to 5 mm, or about 3/16 of an inch). There are some add on cutting accessories available for the model 1, as well as maker tools like joints and bolts you can use to hold your cardboard creations together.
There are also “mission packs” you can buy to construct things like a marble run, butterfly mask or a cardboard sheep.
If I had a little maker, I would definitely want one of these for her to use. My teenager maker and I both are going to get a lot of use out of it, and you’ll probably see some projects using it in the future.
These would also be great for maker spaces in the classroom or at school, local libraries, etc. They’re a great way to help little makers bring their creations to life easily and safely.


Leave a Reply